
For websites, tools and customer portals
Add an AI assistant that calls your APIs.
Put it in your website, tool or portal. Let users get information, run calculations and complete tasks through conversation—using your application's data and business logic.
You decide what it can do. Credentials stay on your server. Choose any model provider, keep running costs low and retain the knowledge and skills Buffaly learns over time.
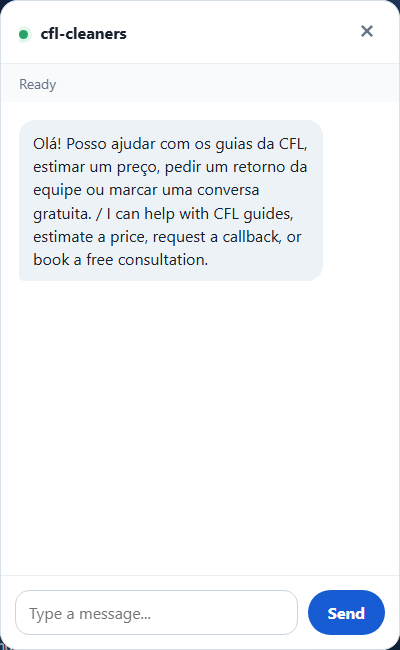
View the mobile example
Public chat for sales
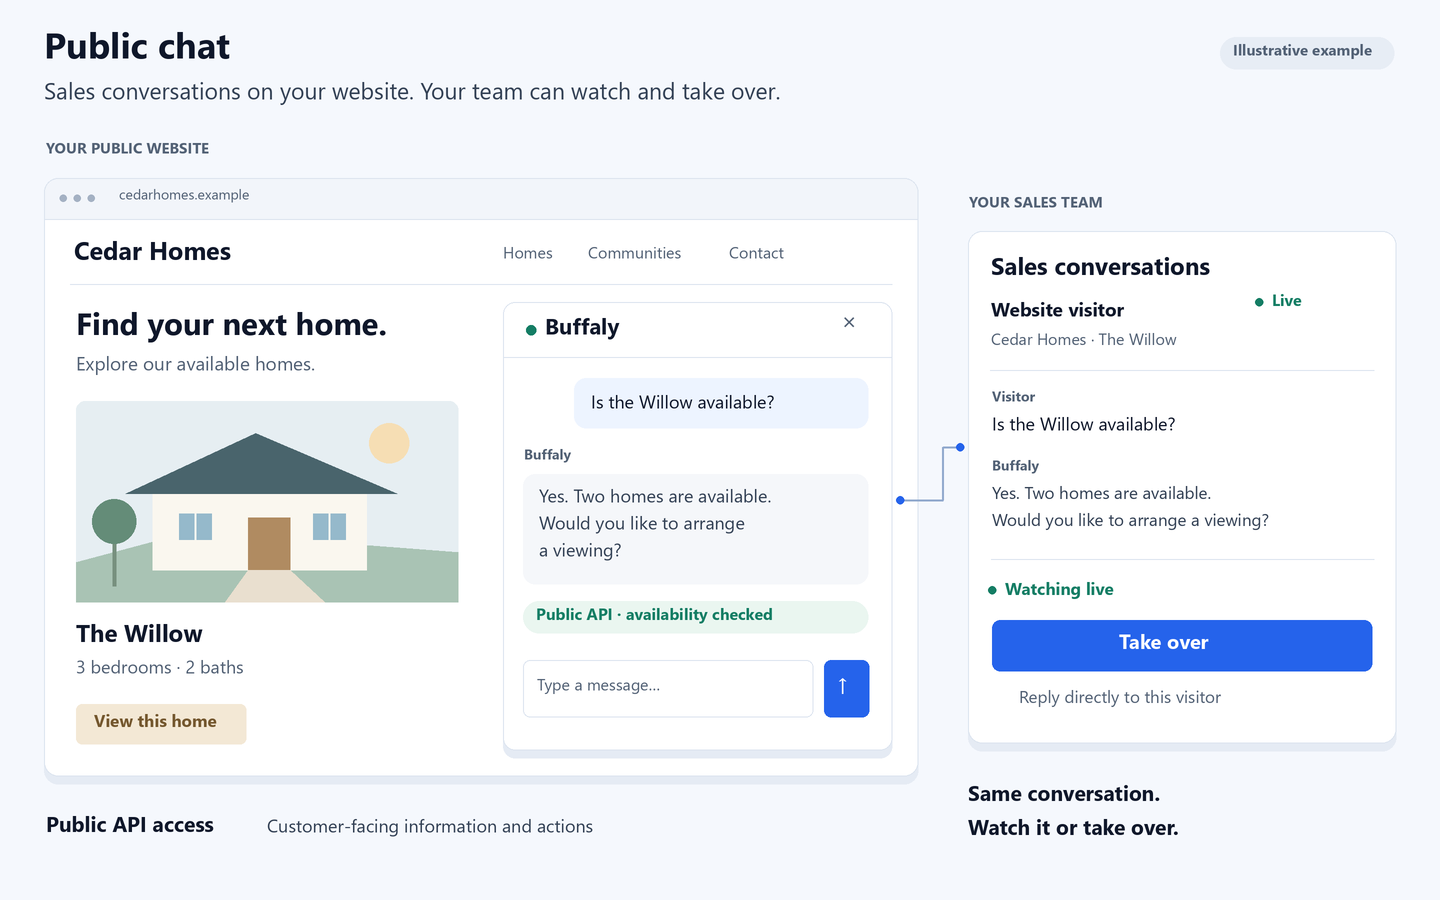
Put Buffaly on your public website to help visitors explore your products and services, get answers and take the next step toward buying.
It connects to your public API for customer-facing information and actions, such as prices, availability, estimates and inquiries.
Your sales team can watch conversations live and take over when needed. Staff follow the same conversation from their portal and can step in to speak directly with the visitor.
Private chat for your organization or portal
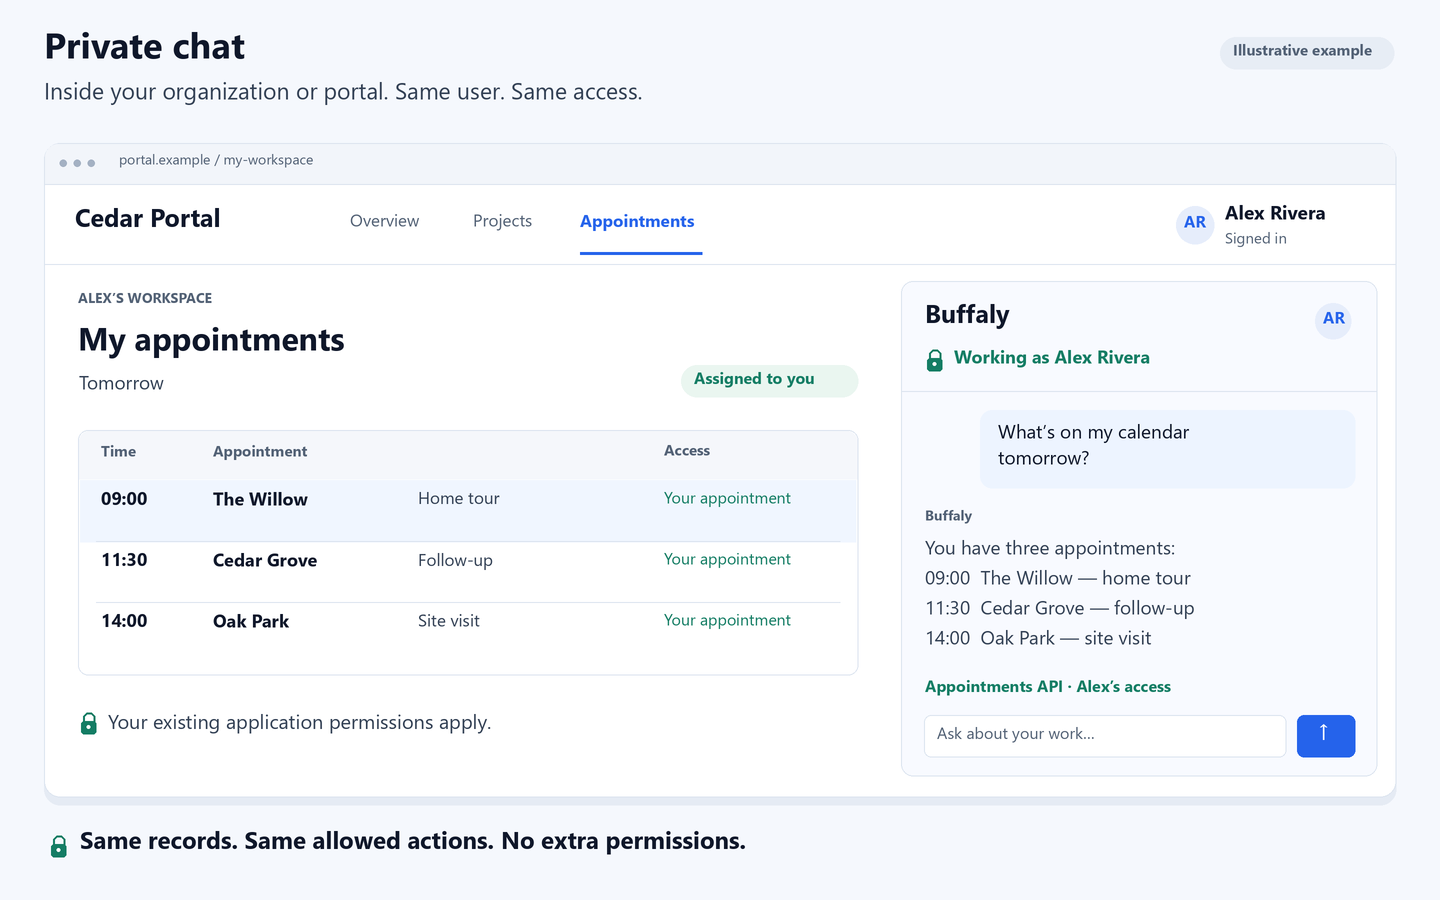
Put Buffaly inside your organization or authenticated portal to help people find information and get work done.
It uses your application's APIs with the same access as the person using it. It can work with the records and actions that person is allowed to use, without granting additional permissions.
Same user. Same access. If someone cannot see or change something in the application, they cannot do it through Buffaly either.
Call your own APIs
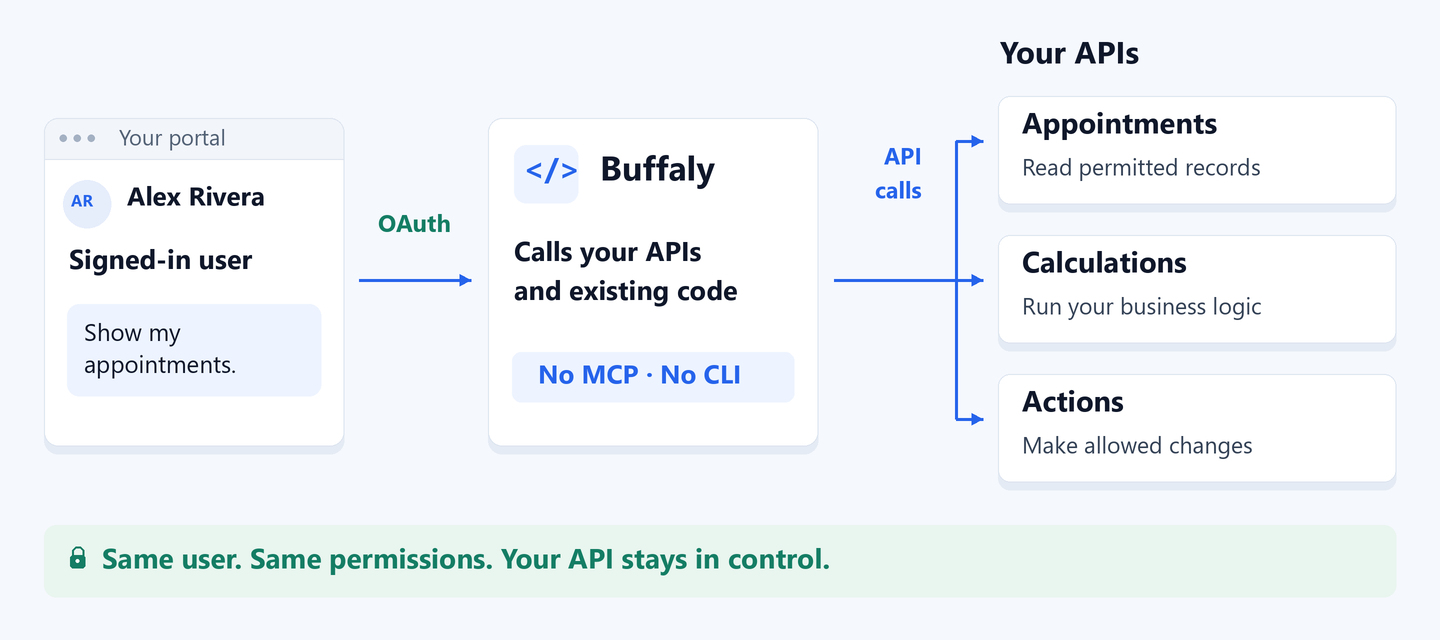
Let Buffaly look up records, run calculations and take action through your application's APIs and existing code. No MCP server. No CLI wrapper needed.
Works with OAuth. Private chat uses the same permissions as the logged-in user. Your API controls which records and actions that person can access.
Use whatever models you want
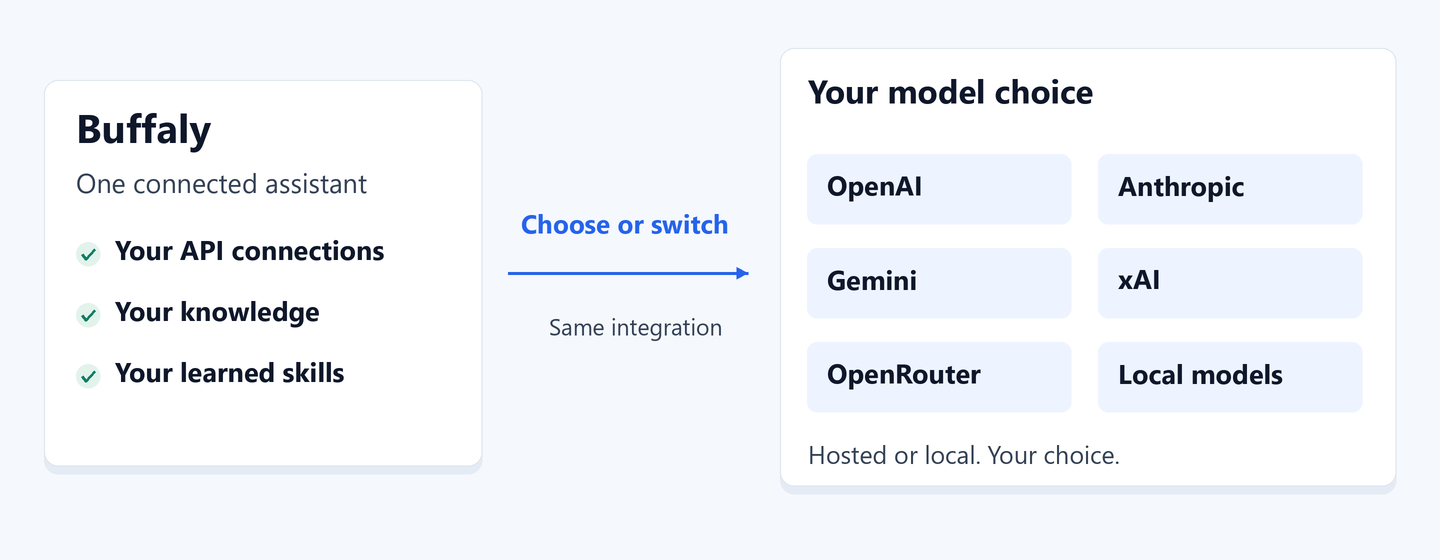
Choose the provider and model that fit your application, budget and deployment. Use a hosted model or run one locally.
Change models without rebuilding your integration. Your API connections, knowledge and learned skills stay in Buffaly.
Buffaly learns over time and gets smarter
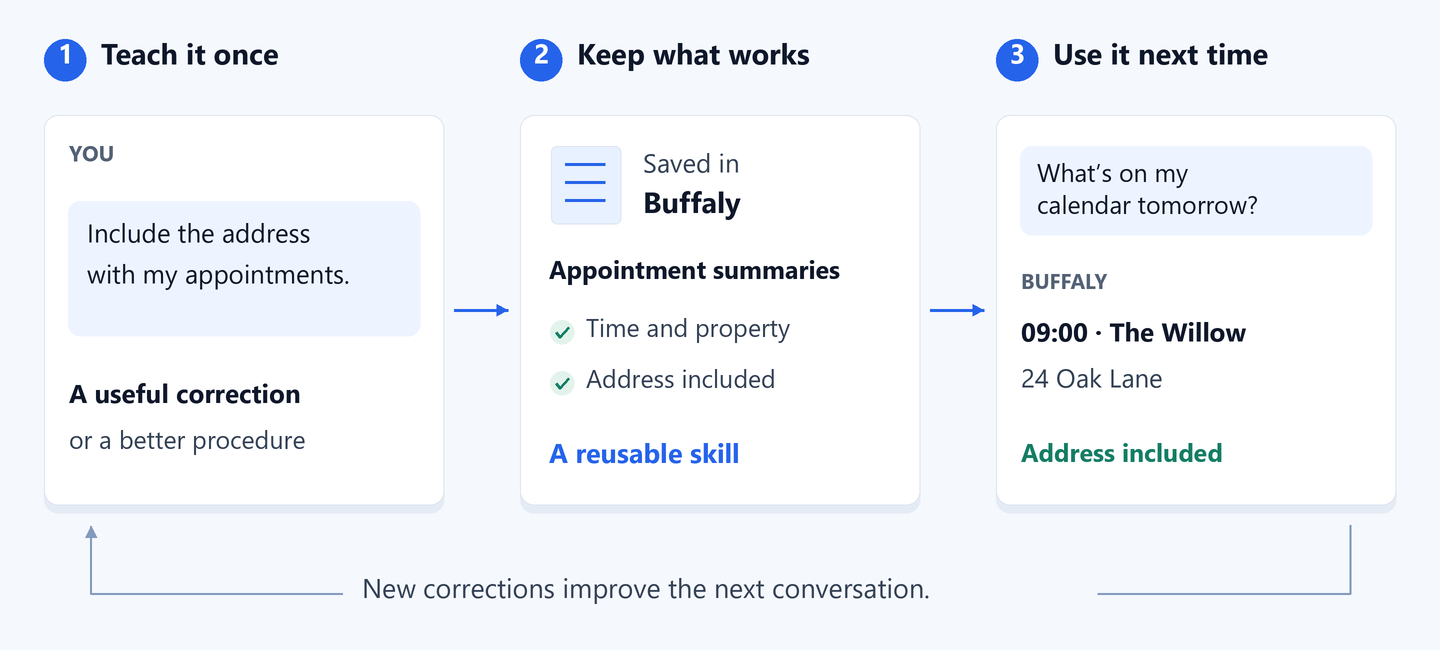
Teach Buffaly your terminology, correct a procedure or show it a better way to complete a task. It can retain that knowledge and reuse it in future conversations.
You control what it remembers. Learned procedures stay in Buffaly. Live records, prices and permissions still come from your application.
For developers
Connect your backend. Choose your model. Add the chat to your page. Here is how the pieces fit together.
Connect the backend
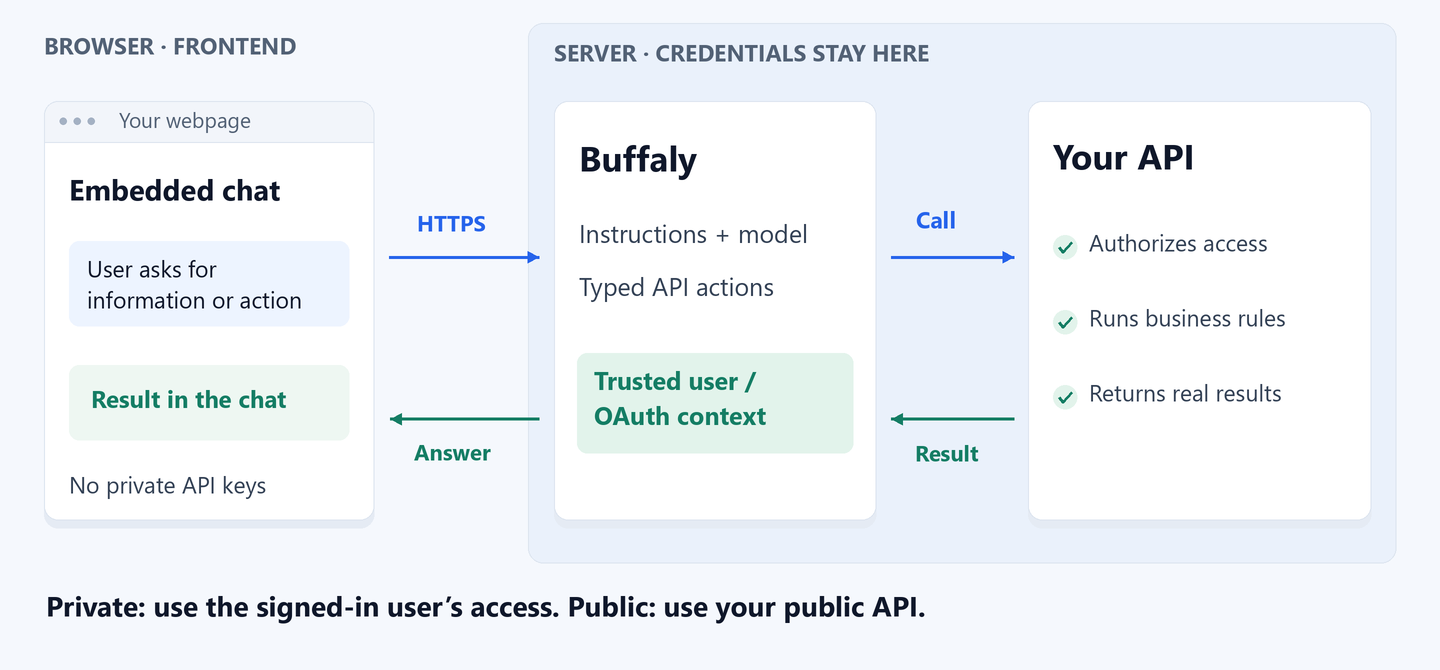
The chat runs in your page. Buffaly runs on the server. Your API does the work. Connect one useful operation first, then add more.
Keep provider credentials and application secrets on the server—not in the embed. Your API validates each request and returns the result Buffaly uses in its answer.
1. Set up Buffaly
Run Buffaly with the chat host, choose a provider and model, and configure its server-side credential.
2. Connect your operations
Define the permitted operations, inputs and results in code. Connect an HTTP API or an existing .NET function. Start with a read or calculation.
3. Connect the right access
For public sales chat, connect your public API. For private chat, connect your sign-in and OAuth flow so requests use the current user's access. Enforce account, role and record permissions in your API.
See API and calculator examples
Property application: retrieve models, prices and availability
GET /integrations/real-estate/v2/projects/{ProjectID}/modelsA server-side action maps the permitted request to this endpoint and returns the application's result.
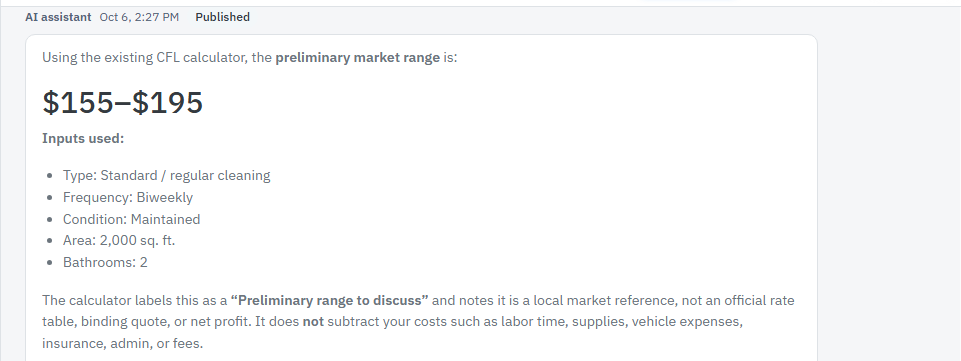
Buffaly can also use your existing calculators. In this cleaning example, it collects the home's details and calls the website's calculator, which returns a $155–$195 preliminary estimate.
Add public chat to your webpage in three steps
Once your public chat is connected to your API, adding it to a page is straightforward. Private chat also needs the authenticated-user connection described above.
Copy your assistant URL
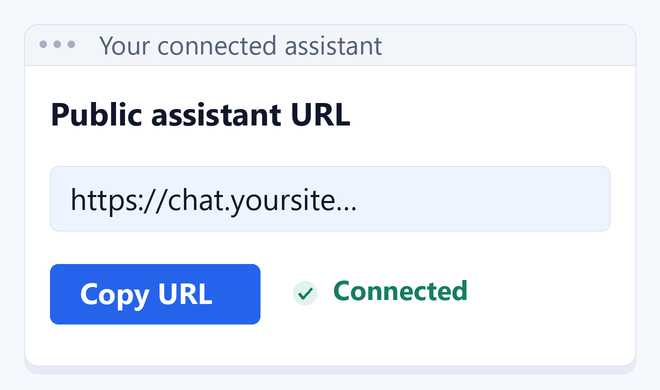
Get the public assistant URL from your connected Buffaly installation. Register your website as an allowed origin.
Paste the embed
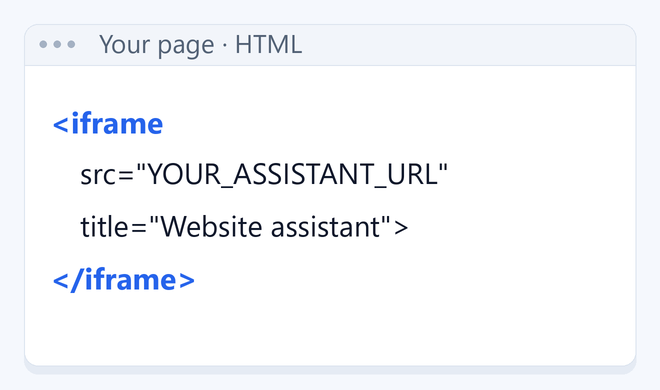
Replace the URL in the code below. Paste it into your page's HTML or a Custom HTML / Embed block.
Publish and test
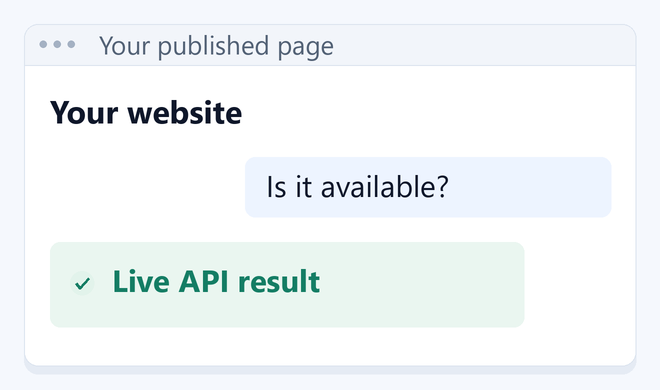
Publish the page, open the chat and send a test request. Check that the answer matches your application's result.
Connect your assistant to your application first, then use the embed to display it on your webpage.
Before you go live
- Verify your website and chat host allow the embed, while an unregistered origin cannot use it.
- Check a successful API call and a denied request. For private chat, verify two users cannot access each other's restricted records.
- Test required confirmations for changes. For public sales chat, test staff monitoring and takeover of the same conversation.
Add Buffaly to your website.
Start with one useful operation. Add more capabilities as you need them—without rebuilding your application or giving up control of it.
Connect